

This article covers using the Scheduler to run the billing schedule automation automatically, so scheduled invoices release without you needing to run the automation by hand each month. This builds on 'How to generate scheduled invoices with the billing schedule automation'.
Setting up the scheduler for the billing schedule automation
- Navigate to 'Scheduler'
- Open or create the 'Billing Schedule' scheduler entry
- Confirm 'Interface' is set to 'Automation' and 'Access key' is set to 'SaleOrder.Schedule'
- Under 'Setup parameters', select the Billing Schedule automation you want this scheduler to run
- Under 'Scheduling', set the 'Execution pattern' – for example, the fifth of every month at a set time
- Save the changes.
The 'Next execution' field confirms when the scheduler will next run.
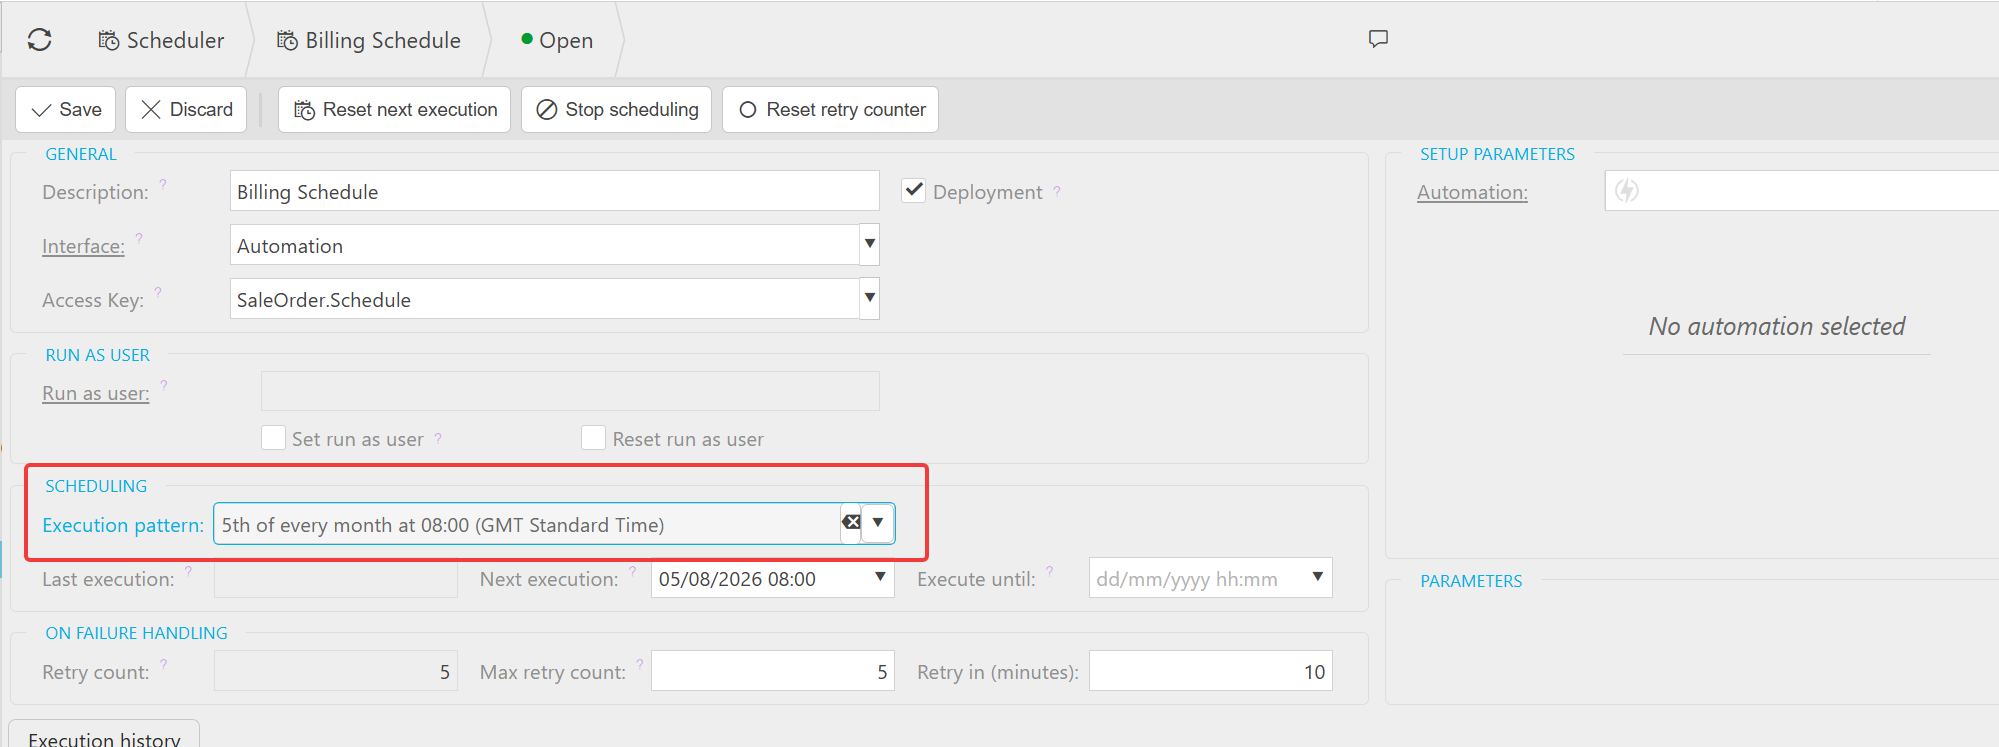
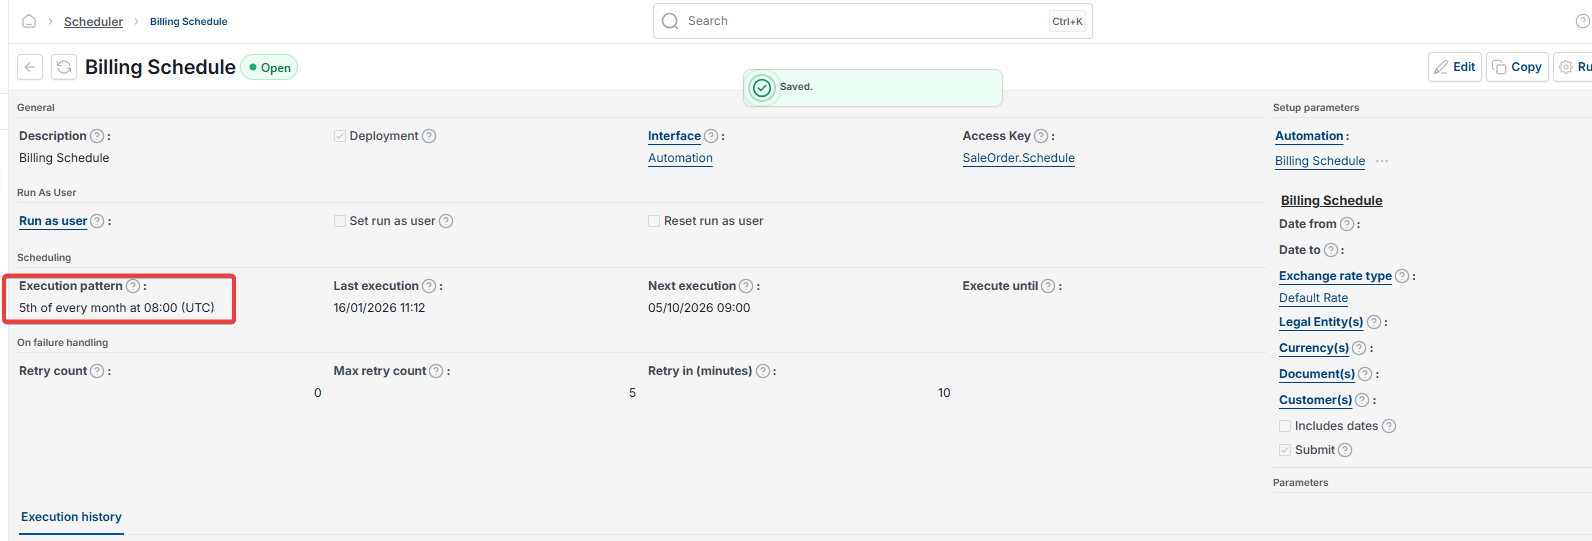
The posting period must be open for the billing schedule scheduler to run
The posting period for the invoice date must be open when the scheduler runs. If the period is closed, the scheduler will stop and error rather than posting the invoice.
Before your scheduled run date each month, confirm the relevant posting period is open. If the scheduler fails to run due to a closed period, this is shown in the execution history section within the scheduler. You will then need to manually reset the scheduler before it will continue to run automatically.
How the billing schedule scheduler handles failures
The scheduler has retry settings – 'Retry count', 'Max retry count' and 'Retry in (minutes)' – which control how many times and how often it attempts to rerun after a failure. These do not resolve a closed-period error on their own if the period remains closed throughout the retry window.
Automate billing schedule
Scheduler billing schedule
Monthly automation billing schedule
Execution pattern
Billing schedule not running
Scheduler error