

This article covers sending login details to iplicit Users, within User Management. Use 'Generate password and email' for a brand new User who has no password yet, and 'Set Password' to reset a password for someone who already has one.
Sending an invite to a new User
Before you can send an invite, the User needs to exist in iplicit – see 'How to create a new user in iplicit' if that hasn't been done yet, or watch 'Creating new Users, Setting Password, Locking Users in iplicit'.
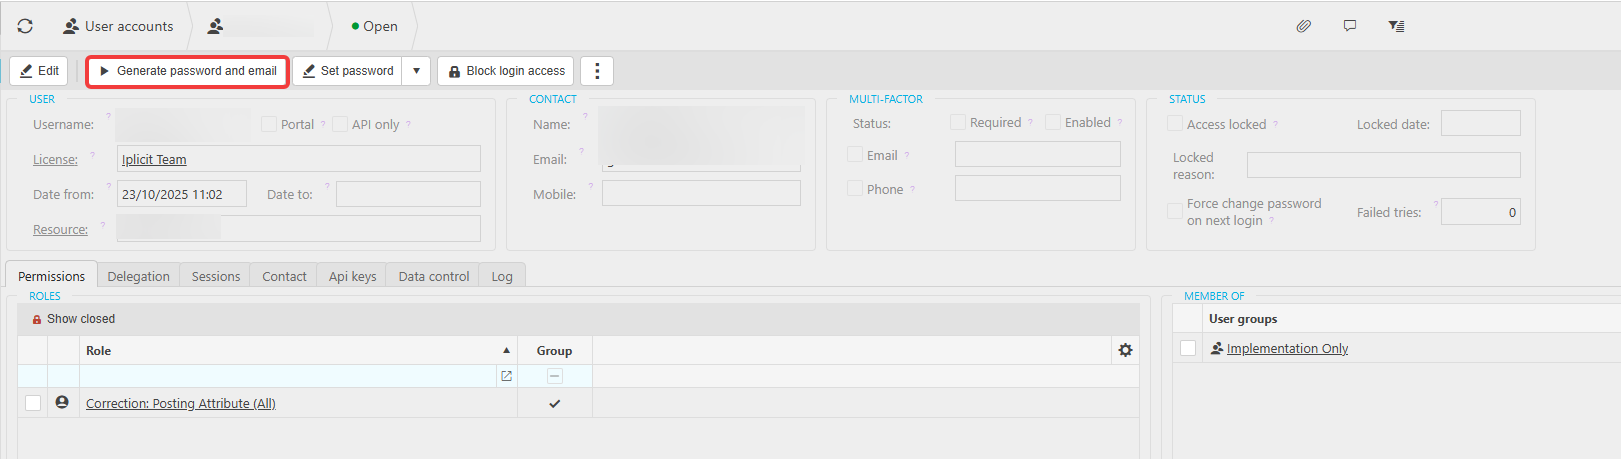
Navigate to User Accounts and open the relevant User. Select 'Generate password and email'. This sends an email to the address on their User record, containing a password set link and a link to log in.

Resetting a password for an existing User
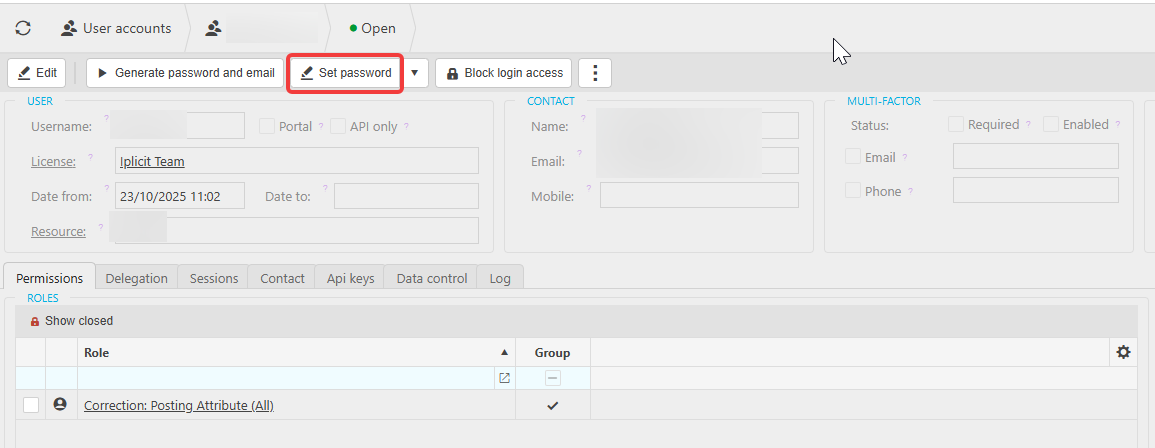
Navigate to User Accounts and open the relevant User. Select 'Set Password' – see 'Set password' in the iplicit user guide for the auto-email and force-change options available from there.
If you're setting the password yourself rather than using the auto-email option, tick 'Force password change at next login'. This makes the User set their own password the first time they sign in, rather than keeping the one you set for them.

If the User is locked out
A locked account needs unlocking before a new password will work – see 'What do I do if I am locked out of my account' for that process first.
Send invite
New user password
Generate password and email
Reset password
Set password
Force password change