

This article covers setting up a new bank account in iplicit, from initial creation through to linking it to the Chart of Accounts. It applies to any bank account you need to add – whether for day-to-day transactions, receiving payments or paying suppliers.
Creating a new bank account record
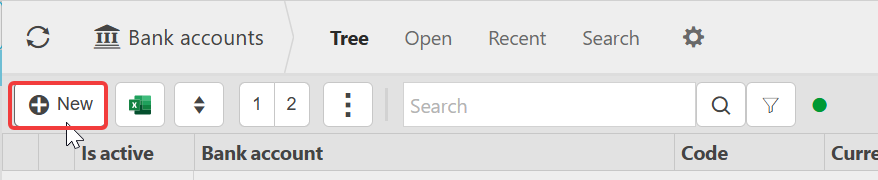
To begin adding a bank account, navigate to the bank account screen either via the main menu or quick search bar.
Select 'New' to open a blank bank account record.

Entering the basic details of the bank account
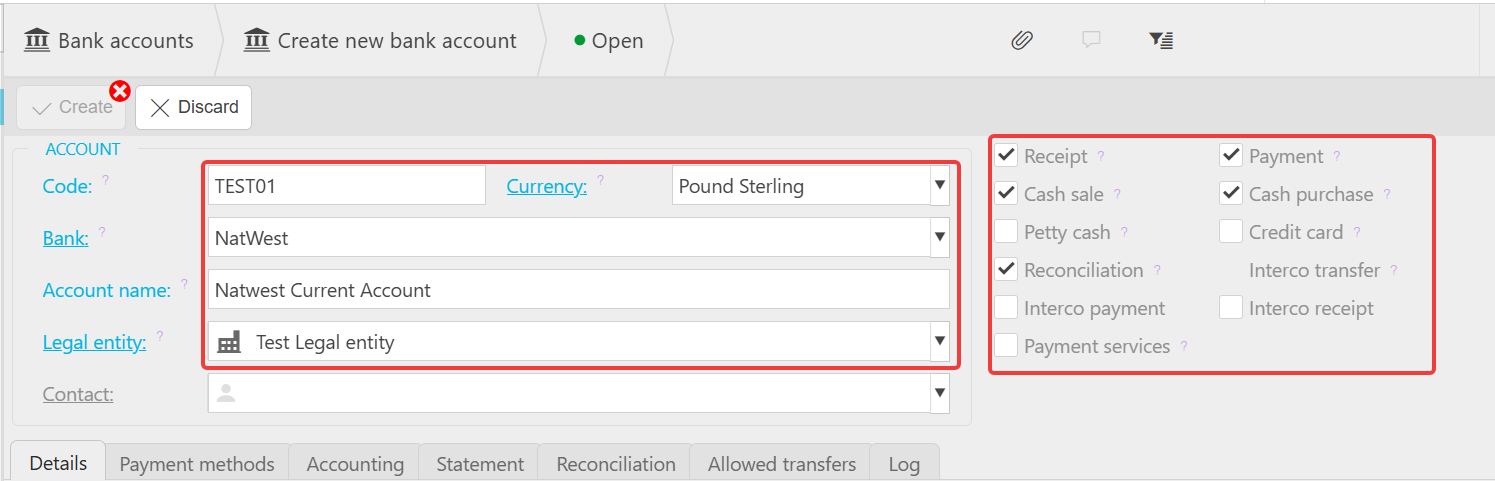
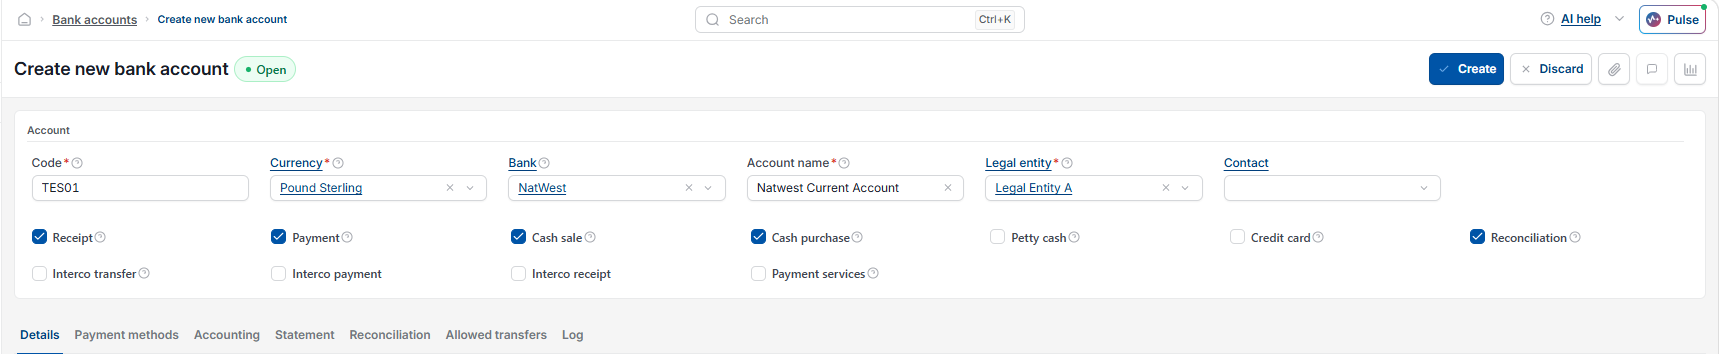
Add a 'Code' and a 'Name' for the bank account so it can be identified quickly elsewhere in iplicit. Tick the boxes that define how this bank account will be used – for example, whether it will receive money, pay money, or both.
Choose the 'Legal Entity' this bank account belongs to. Every bank account in iplicit must sit under a legal entity, and this determines which parts of the system can see and use it.
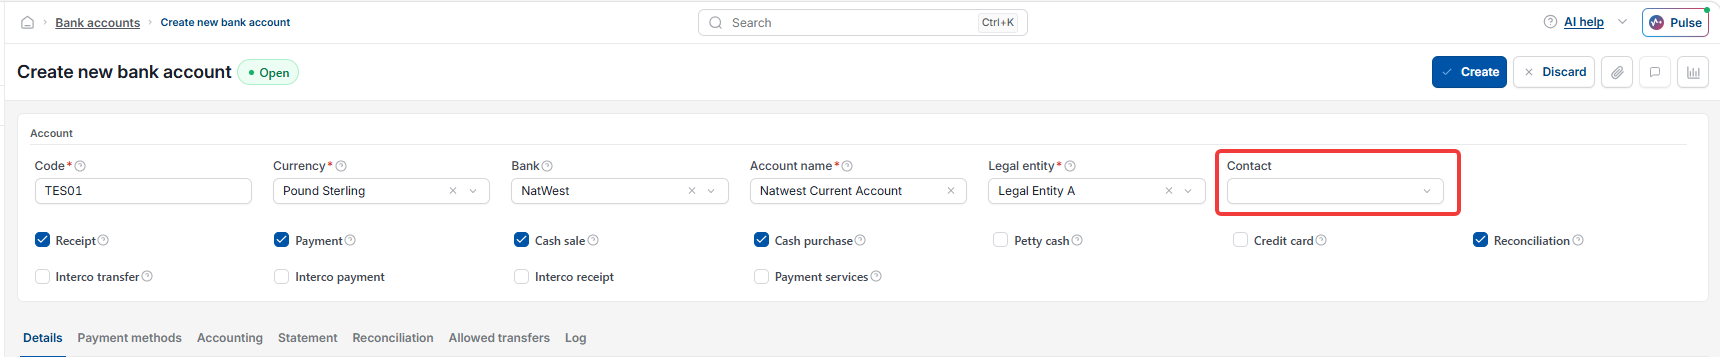
Linking a contact to the bank account (optional)
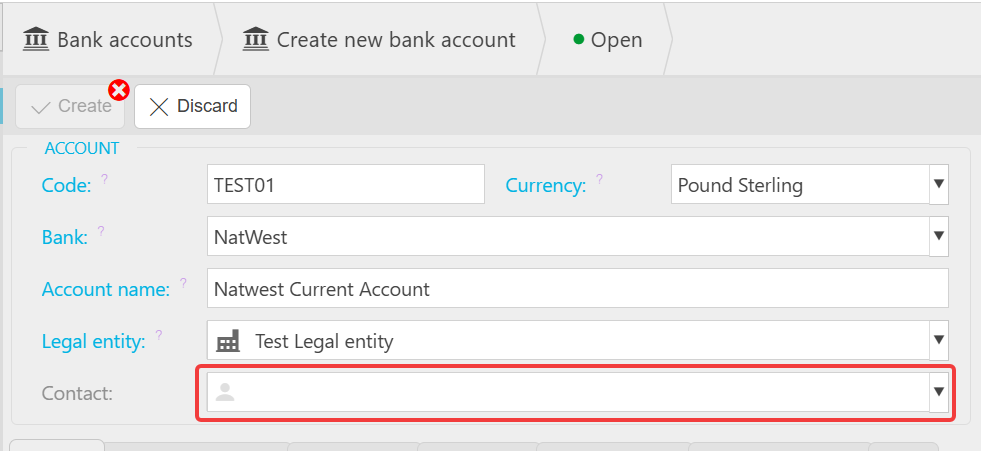
If the bank itself is also set up as a customer or supplier contact in iplicit, you can link that contact record here. This step is optional – leave it blank if it does not apply.
Adding the bank details
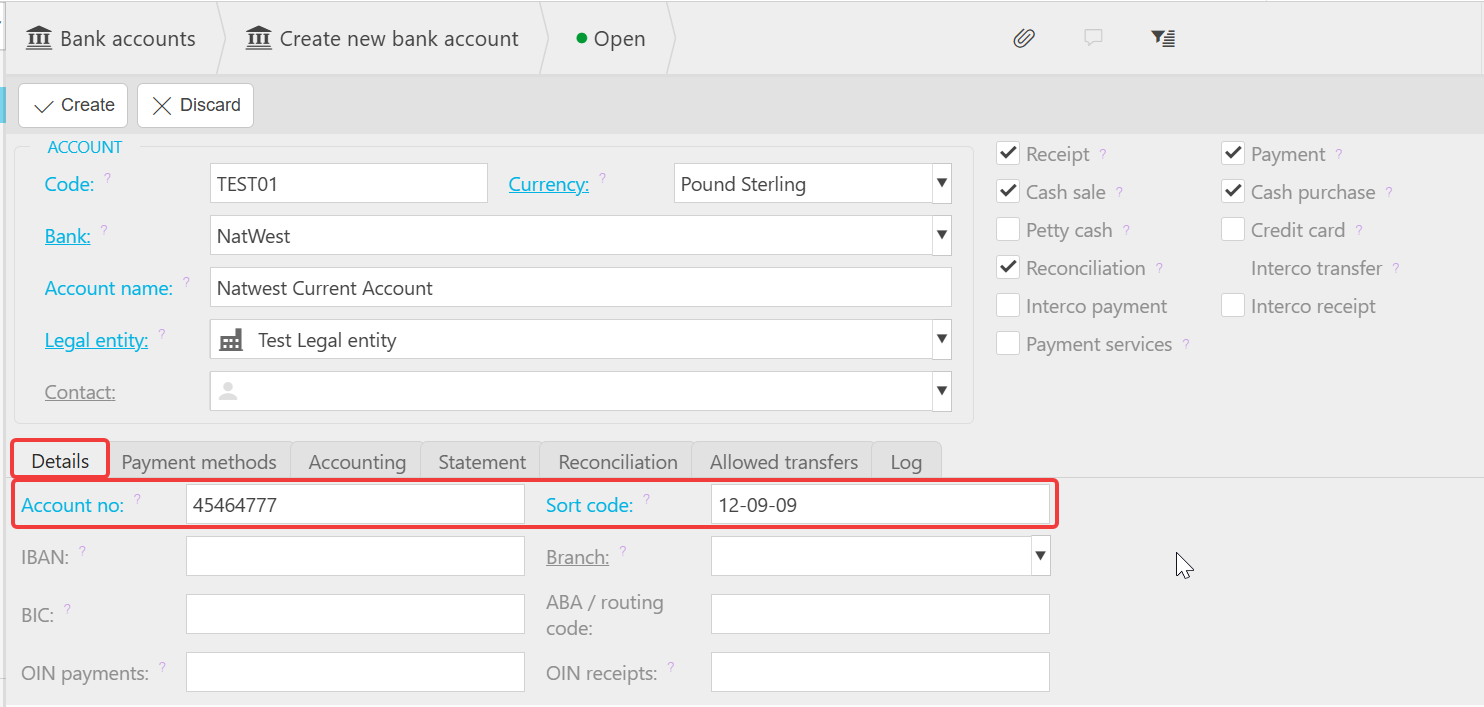
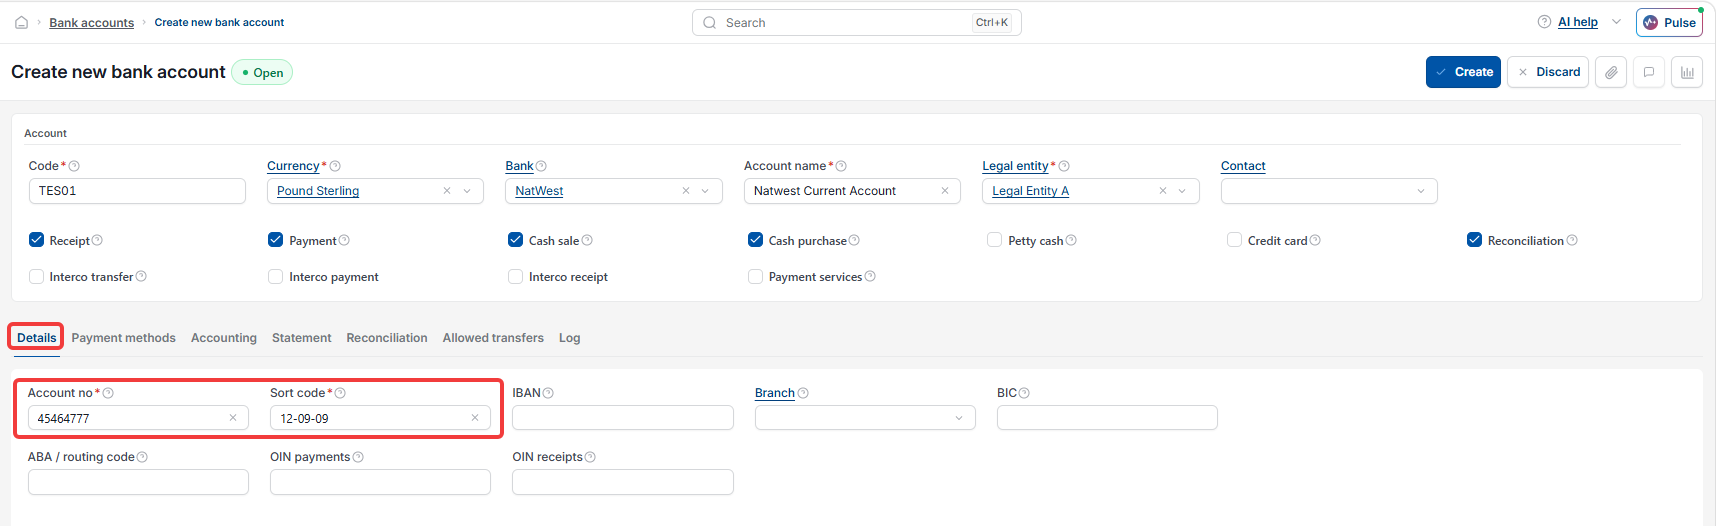
Enter the 'Account Number' and 'Sort Code' for the bank account. These details are used for bank statement import and payment processing.
Setting payment methods for the bank account
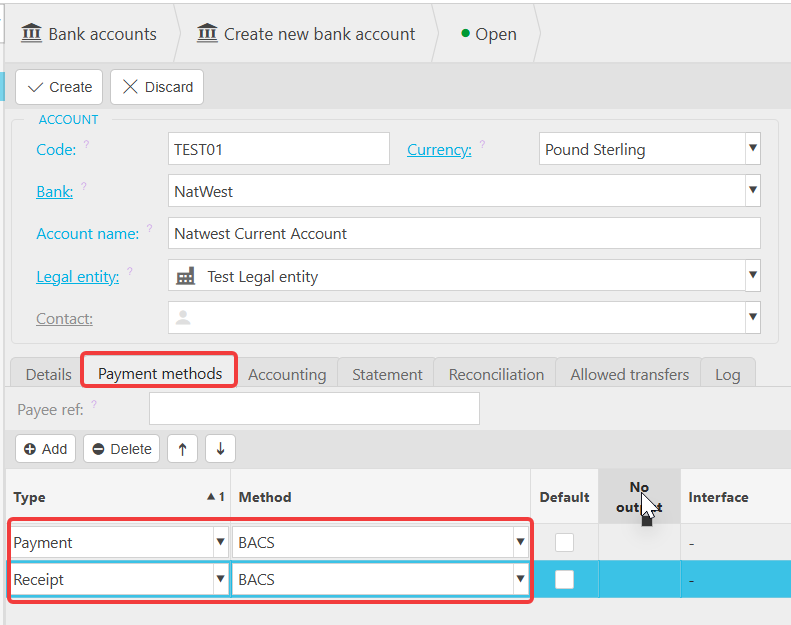
Payment methods control which options appear when this bank account is selected on a transaction, such as a payment or a receipt. Select 'Add' to include a payment method – for example, 'Bank Transfer'.
Before moving to the next step, create the bank account using the 'Create' button and then re-enter edit mode.
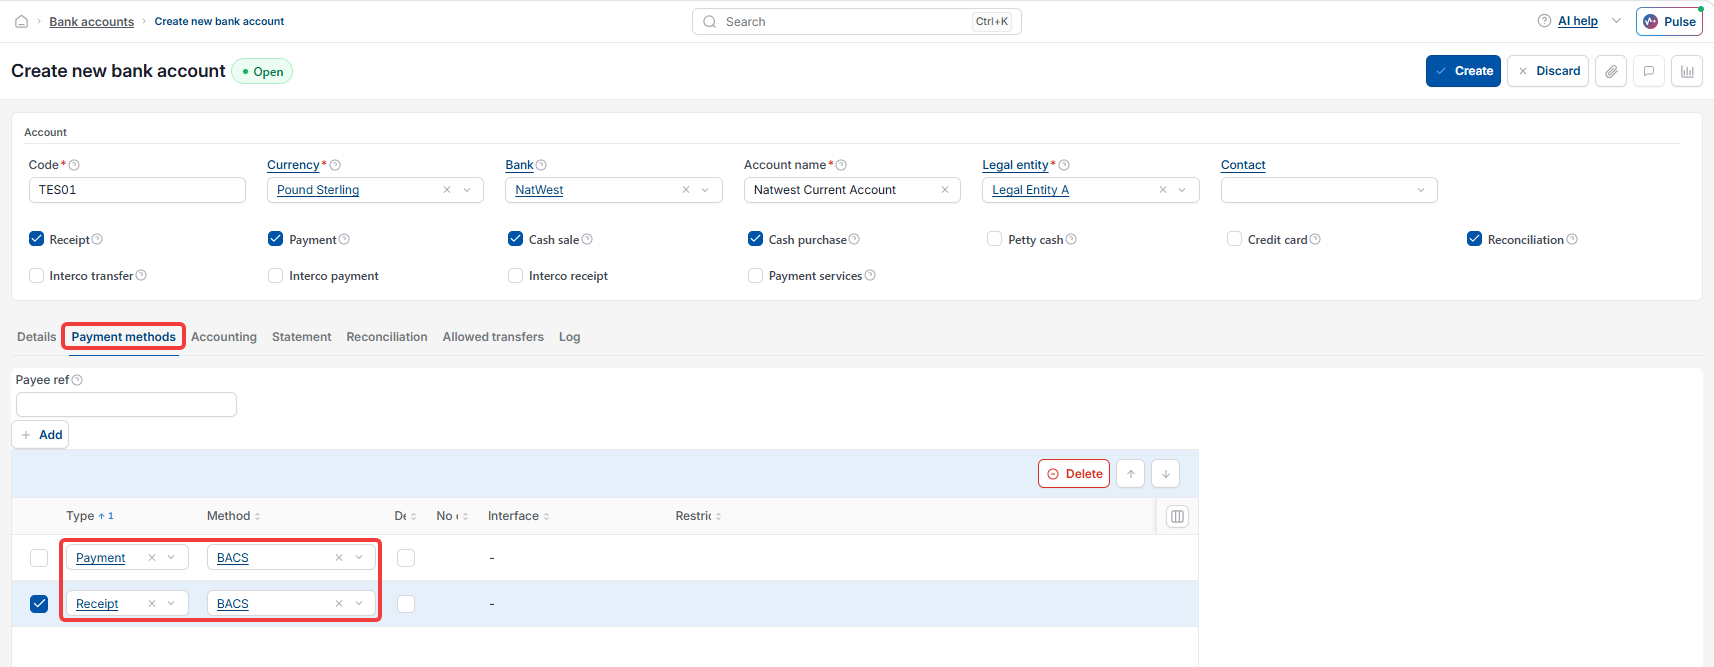
Linking the bank account to the Chart of Accounts
Go to the 'Accounting' section of the bank account record. Select 'Add', choose the appropriate account from the Chart of Accounts, and select 'Create' to complete the link. You can then re-enter edit mode to continue next steps.
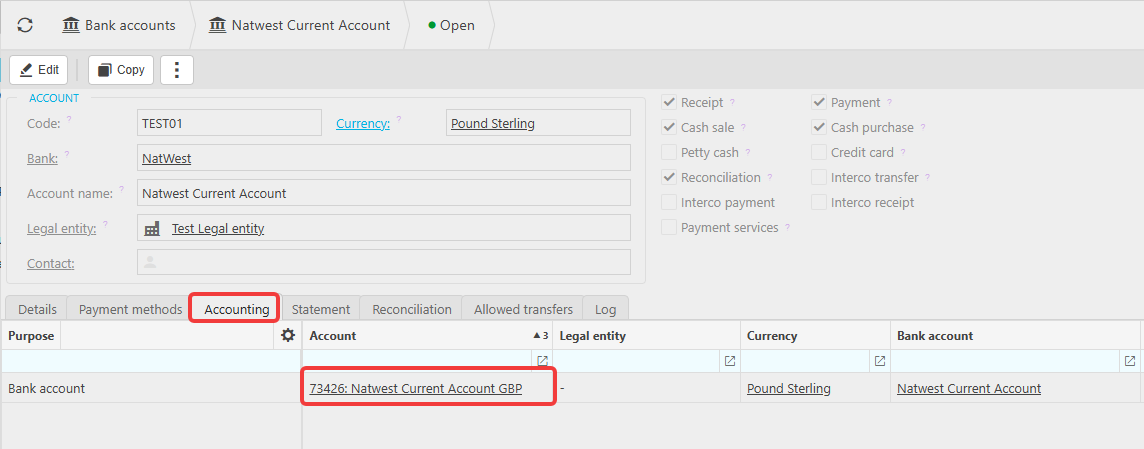
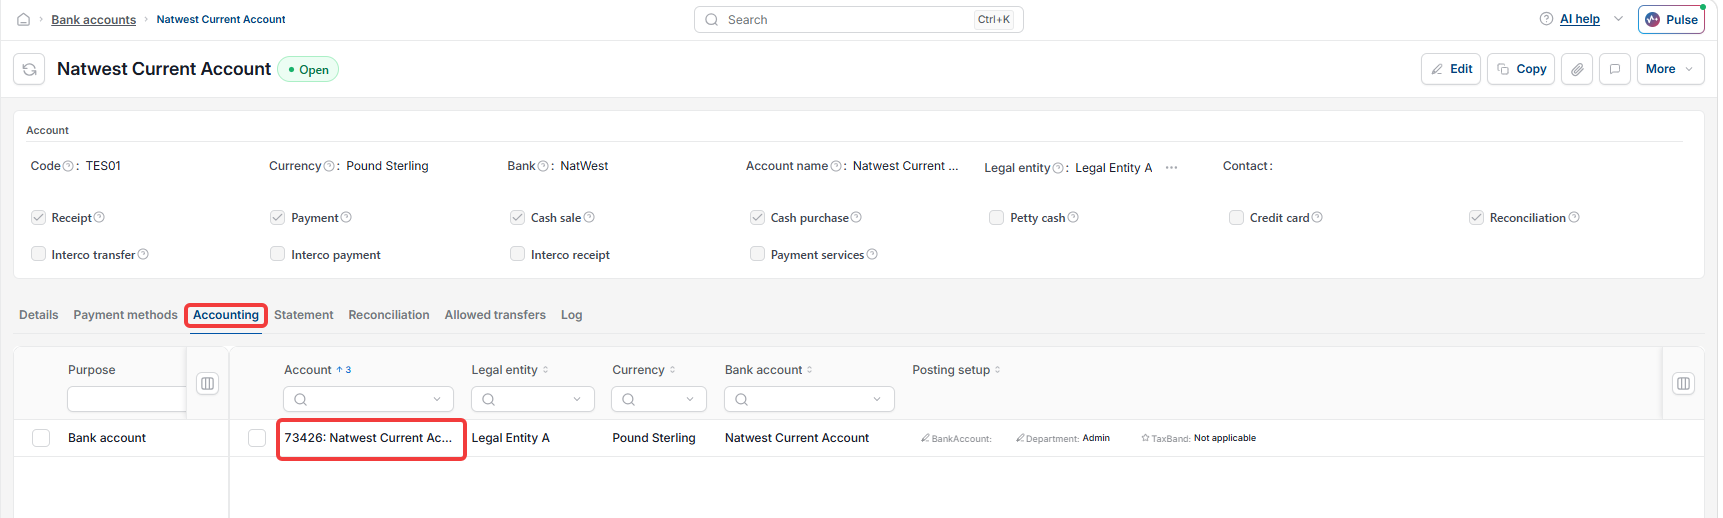
Configuring bank statement import for the bank account
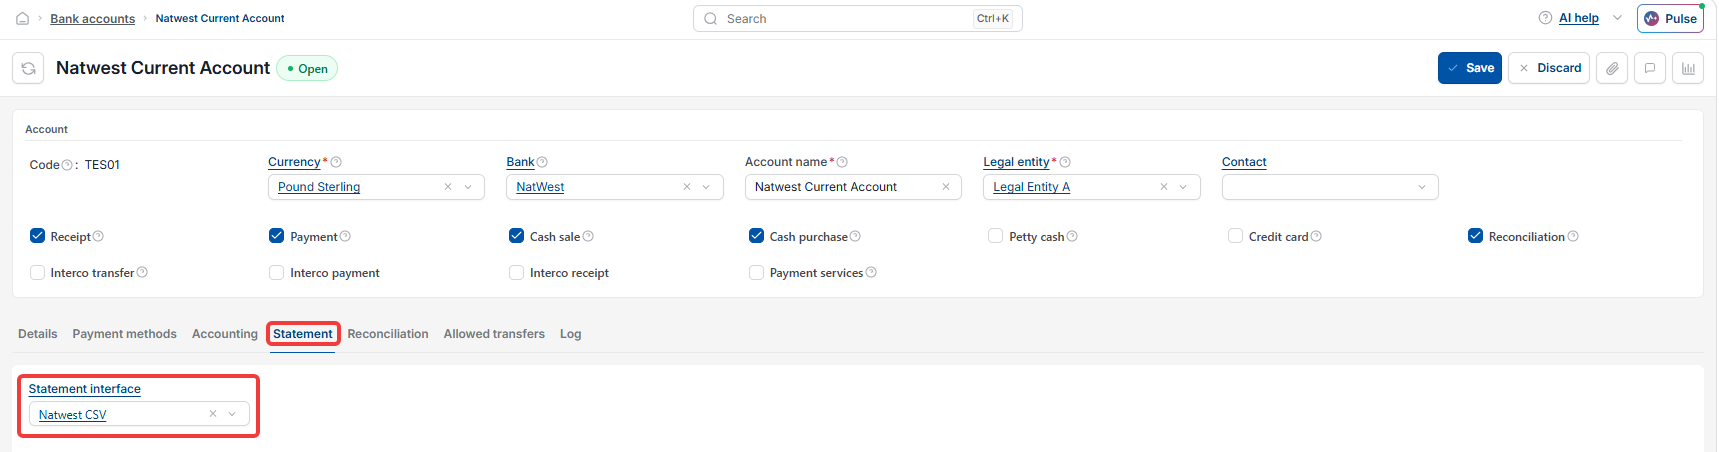
If you plan to import bank statements manually, choose the correct 'Bank Statement Interface' – for example, the Natwest CSV. This option may need to be unlocked before it becomes available on the Interface screen.
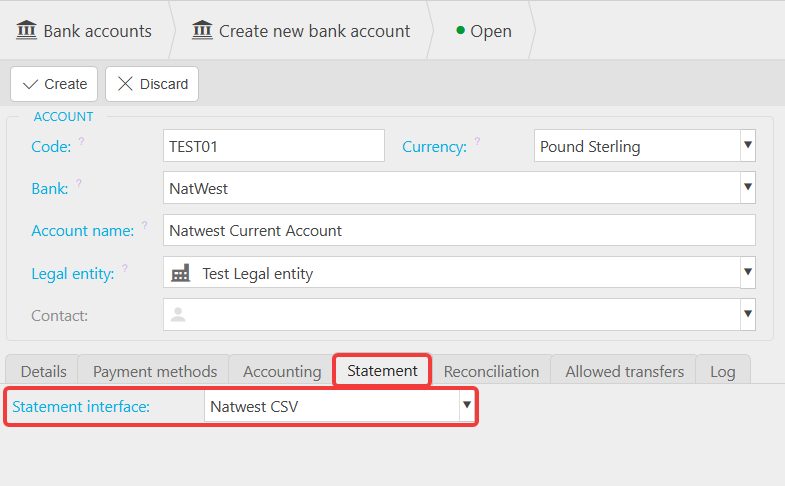
Setting allowed transfers between bank accounts
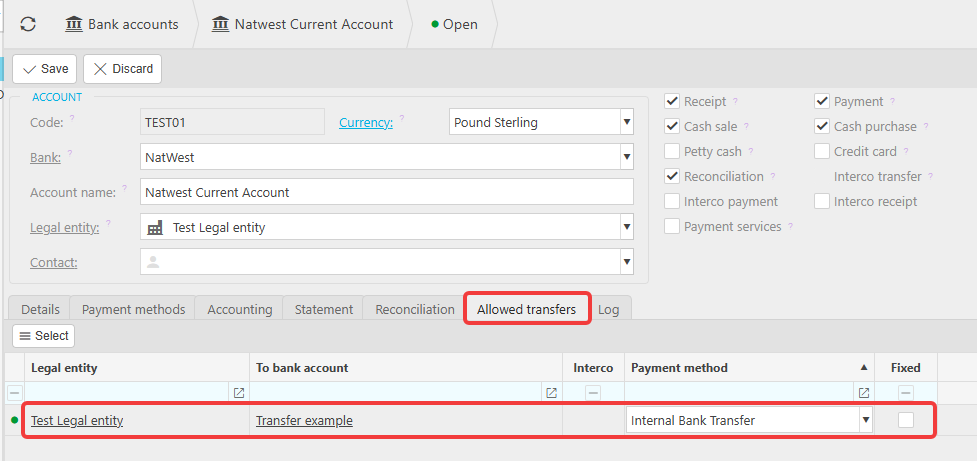
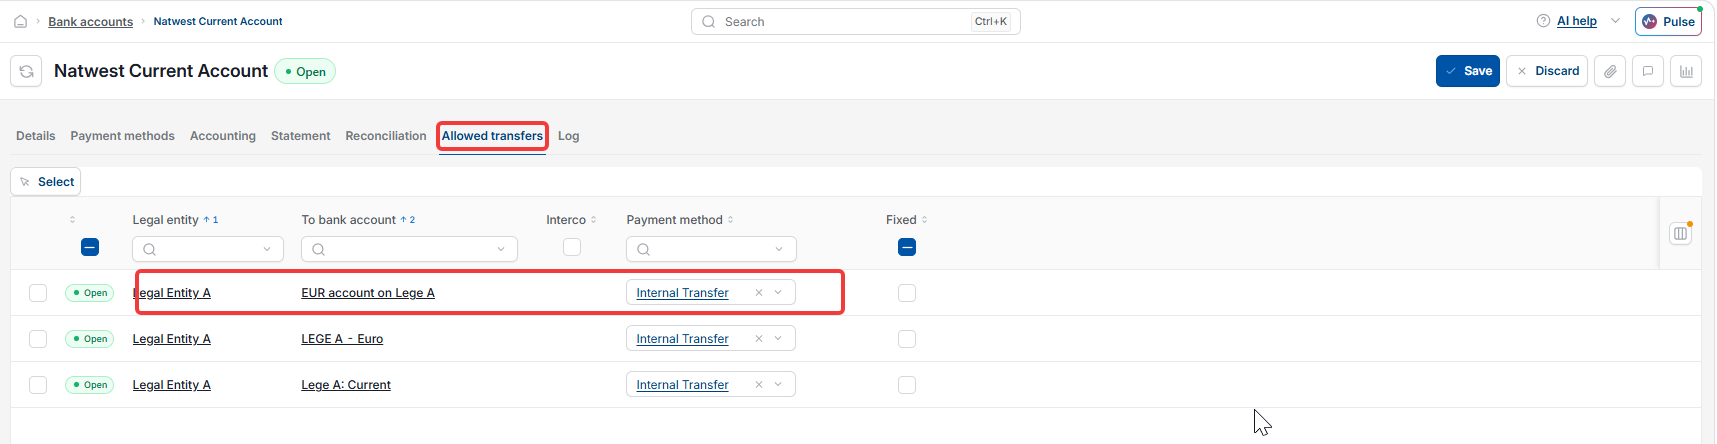
If money needs to move between internal bank accounts, use the 'Allowed Transfers' section to select which other bank accounts it can transfer to. You will need to ensure you have set up the payment method for Internal Transfer to select it here under payment methods.
If you'd like to see this process in action, including adding transactions, check the training video: Bank account set up & adding transactions.
Add a bank account
New bank account
Set up bank account
Create bank account
Bank statement import
Allowed transfers
Bank account setup