

This article covers installing the iplicit Excel add-in for the first time. The Excel add-in lets you pull data from your iplicit environment directly into Excel, so you can build your own bespoke reports. For using the add-in once it's installed, including built-in options and custom functions, see 'How to use the iplicit Excel add-in'. We also have a video with further information, see Excel Add-in: Customer Support.
Supported platforms
The iplicit Excel add-in works on:
- Office on Windows, version 1904 or later, connected to an Office 365 subscription
- Office on Mac, version 16.24 or later, connected to an Office 365 subscription
- Office on a web browser
Excel custom functions aren't supported on iPad, or on one-time purchase versions of Office 2019 or earlier.
Permissions needed
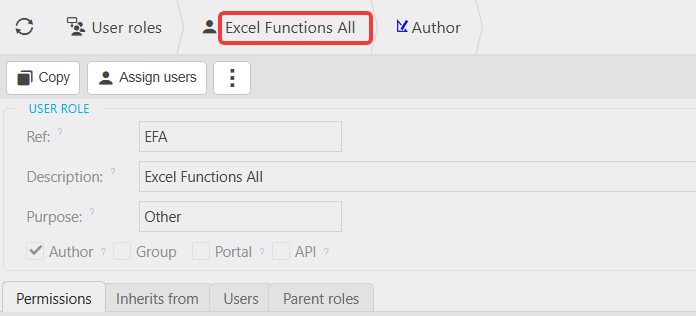
To use any Excel custom function through the add-in, a user needs the 'Excel Functions All' user role in iplicit. Without this role, the add-in shows "You do not have permission to use iplicit Excel functions" instead of results.
If you have the 'GL: Financial Statements' and 'Financial Statement: Fiscal' roles on your user account, you will not need to add the 'Excel Functions All' role as these two user roles automatically include Excel add-in access.
Installing the add-in
- Open Excel
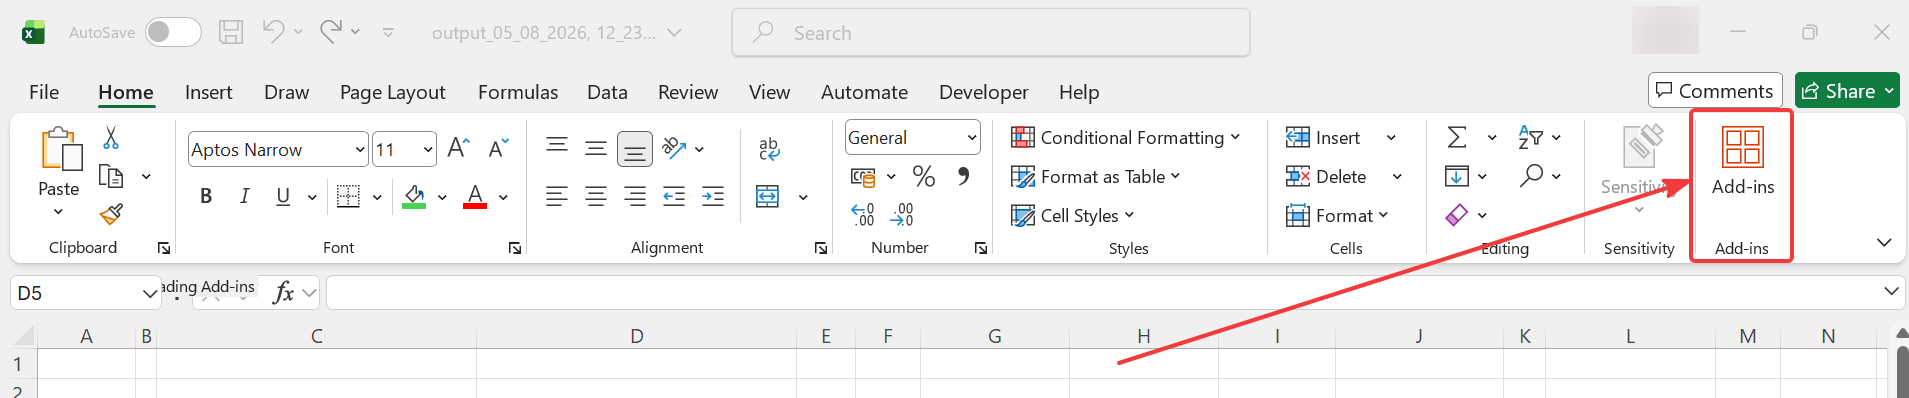
- On the Home menu bar, select the 'Add-ins' icon
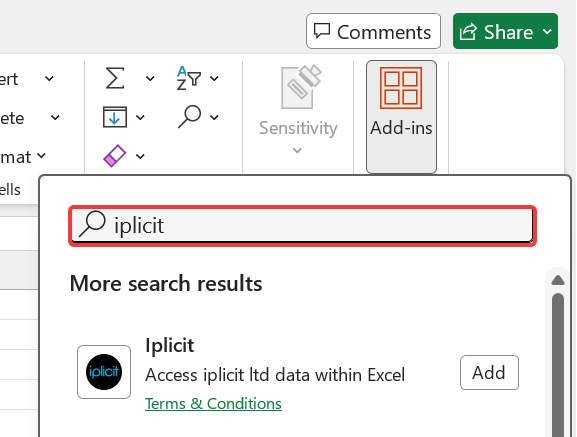
- You can then search for iplicit in the search bar
- Select 'Add' against the iplicit result
- Agree to the terms and conditions
Once installed, a confirmation shows the iplicit add-in has loaded, and an iplicit logo appears on the Home menu bar.

Logging in to your environment
Select the iplicit logo on the Home menu bar to log in to your iplicit environment from within Excel, using the same credentials for either your live or sandbox environment. Once logged in, the add-in is ready to use.
Excel add-in setup
Install Excel add-in
iplicit Excel plugin
Excel Functions All
Excel add-in permissions
Add iplicit to Excel